How to Clean the Inside of Your Oven
Cleaning the inside of your oven is like going to the dentist. Nobody really enjoys it and it’s easy to put off until absolutely necessary.
Even for professional house cleaners with many years of experience, cleaning the inside of the oven can be one of the most challenging and trickiest tasks to do correctly. This is especially the case if it’s been a few years since the oven was last cleaned, because there will be even more build up and grease that’s particularly hard to remove.
However, with the right cleaning supplies it’s a pretty simple process that shouldn’t take more than 30 minutes of actual work.
In the following guide we’ll take you step by step through the process that many professional cleaners use to clean the inside of an oven during deep cleaning and move-in & move-out cleaning services.
It may feel like a daunting task, but before you know it your oven will be smelling great, looking fresh and ready for your next batch of delicious, baked goods.
Why should you clean your oven?
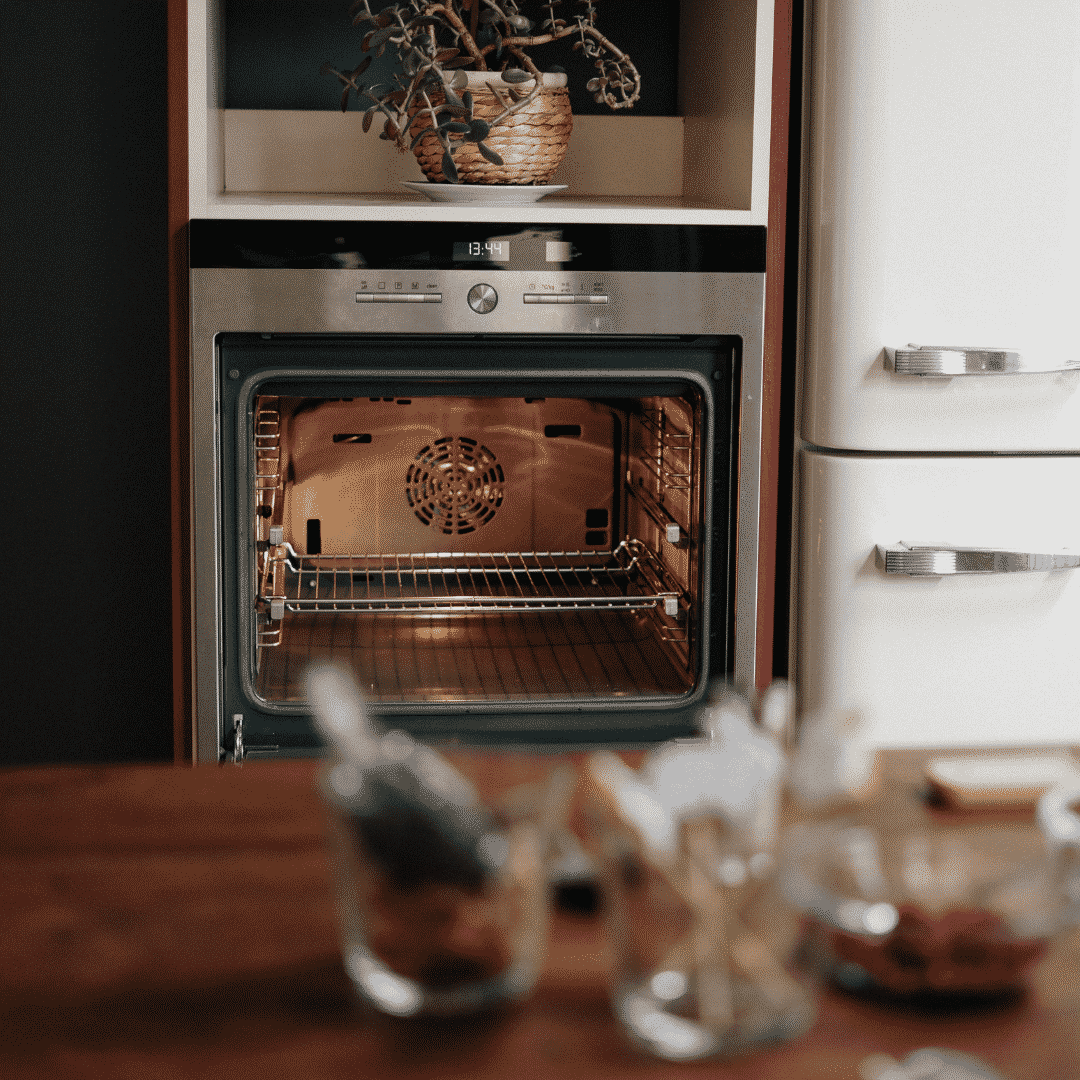
If you cook at home, you probably use your oven pretty often. And, if you’re like most people, it’s probably been awhile since the inside of your oven was cleaned.
A dirty oven looks bad, and smells even worse. When your oven is dirty, every time you open the oven door the smell will waft out and stick to your clothes. Yuck!
Also, it can be fire hazard when you have old, caked on food bits stuck to the inside of your oven.
A dirty oven is also inefficient- it doesn’t cook things as fast compared to a clean oven.
Your food will taste better. Your home will smell better. Your oven will last longer. Plus, anyone walking by your home will be drooling from the fragrant smells wafting from your home cooking.
If you cook meals at home and use your oven frequently, we recommend that you clean it every 3-6 months. If you don’t use your oven very often, one time per year will suffice.
If you notice any funky smells filling up the kitchen or sticking to your clothes when your oven is turned on, it might be time to get to cleaning. Caked on food and gunk impacts the quality of whatever is cooking in the oven.
A clean oven ensures that the only thing you’re smelling and tasting is tonight’s meal, not last year’s pot roast drippings.
Which oven cleaner is best?
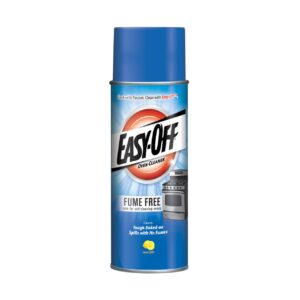
There are a number of interior oven cleaning products that promise amazing results for your oven. Some products are better than others, but our very favorite is Easy-Off Fume Free Oven Cleaner.
It’s tough on grease without any nasty fumes and it is super easy to use. Simply spray it on, let it sit for 2 hours, and wipe clean! It’s so easy using Easy-Off (see what we did there) because it doesn’t require hours of scrubbing and sweating (and cursing).
Easy-Off Fume Free Oven Cleaner is inexpensive, found in most stores, and best suited for heavy duty grime and grease. If it’s been awhile since your oven has been cleaned, you’ll want to opt for a heavy duty cleaner like Easy-Off.
All natural and homemade products are great if you have allergies or prefer eco-friendly choices. However, keep in mind that you’ll have to put in a bit more elbow grease compared to commercial cleaning products.
Supplies needed
1 Can of Easy-Off Fume Free Oven Cleaner
1 Large bucket
3-4 Rags or cleaning towels
1 or 2 Sponges
1 Non-scratch scouring pad
1 Large towel
Face mask and gloves
Step 1.
Make sure the oven is cold, and turned off. Place a large towel on the floor in front of your oven, in case any droplets of grease or Easy-Off Oven Cleaner fall onto the floor. This prevents any possible staining and keeps your floor clean and dry. Even though Easy-Off Fume Free Oven Cleaner doesn’t release any toxic fumes, we recommend wearing a mask and gloves when spraying on the solution. It’s always a good idea to wear a mask whenever you are spraying cleaning products indoors (even eco-friendly ones).
Step 2.
Be sure to remove any pans, thermometers, or other accessories from the inside of your oven. Hold your can of Easy-Off upright and spray it 9-12 inches away from the cold oven being sure to coat the wire racks, sides, bottom, and door of your oven. If there’s heavy build up, don’t be afraid to make 1 or 2 passes over certain areas to ensure there’s a layer of Easy-Off on the greasiest parts.
Step 3.
After spraying your oven, wait for at least 2 hours to allow the solution to work its magic. This is the most important step. By waiting patiently for the product to do its thing, you’ll ensure that all you really need to do is wipe away all the yucky gunk at the end. Letting your cleaning product do its thing reduces the amount of scrubbing you need to do and saves you a ton of time and energy.
Step 4.
After 2 hours, fill a bucket with warm water and place your sponge and rags in the bucket. Using a damp rag, wipe away the grease, being sure to continually rinse and wring out your rag throughout the process. You may need to empty the bucket 2-3 times throughout the cleaning process and refill it with clean water.
Step 5.
Be sure to wipe the inside of your oven, including the cracks and crevices to get rid of all of the greasy spots that aren’t easily seen. If you come across a stubborn spot, use the scouring side of your sponge to break up the grime. If that doesn’t work, grab a non-scratch plastic scouring pad and your Easy-Off Oven Cleaner. Simply spray a bit more Easy-Off on the spot, wait 30 seconds, and scrub with the non-scratch scouring pad. To clean the wire racks, wipe them and then remove them from the oven and rinse them in the sink. Use your non-scratch scouring pad to go over any areas on the racks that have caked-on stains.
Step 6.
Fill a spray bottle with 1 part vinegar, and 4 parts water. Spritz the entire interior of the oven and then wipe clean with a dry towel. Once all the residue is removed, turn the oven on to 300 degrees Fahrenheit for 15 minutes to evaporate any leftover cleaning solution. Make sure all children and pets are out of the kitchen during the entire process to avoid any inhalation or ingestion of fumes.
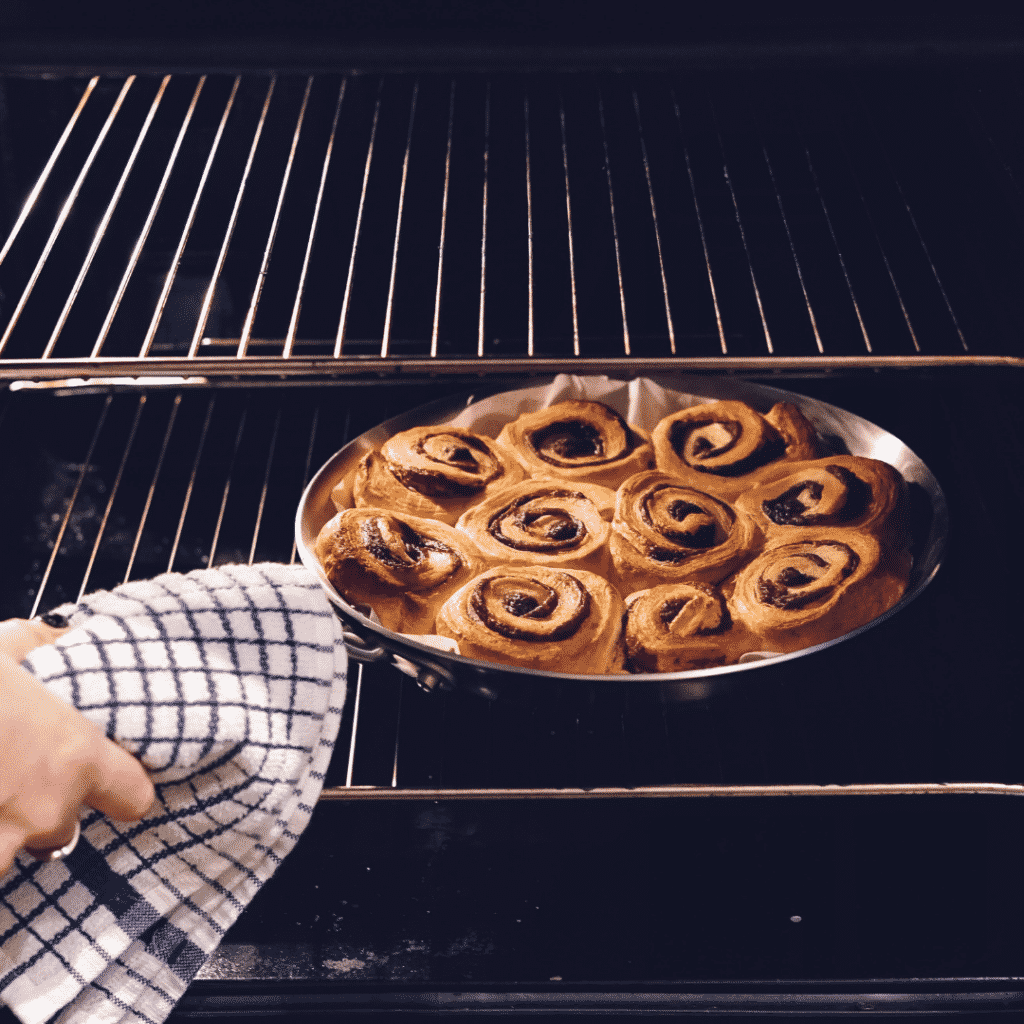
Aaaaaand... Bake!
That’s it! Your stomach is rumbling, and now it’s time to pop some delicious goodies in the oven.
We hope you found this guide helpful, and if you feel frustrated with cleaning your oven, don’t fret! Even experienced maids can have a tough time cleaning ovens.
But before you buy a new oven to avoid cleaning your stinky one, grab a few supplies and in a few short hours the inside of your oven will be sparkling.