Step-by-Step Guide to Oven Cleaning
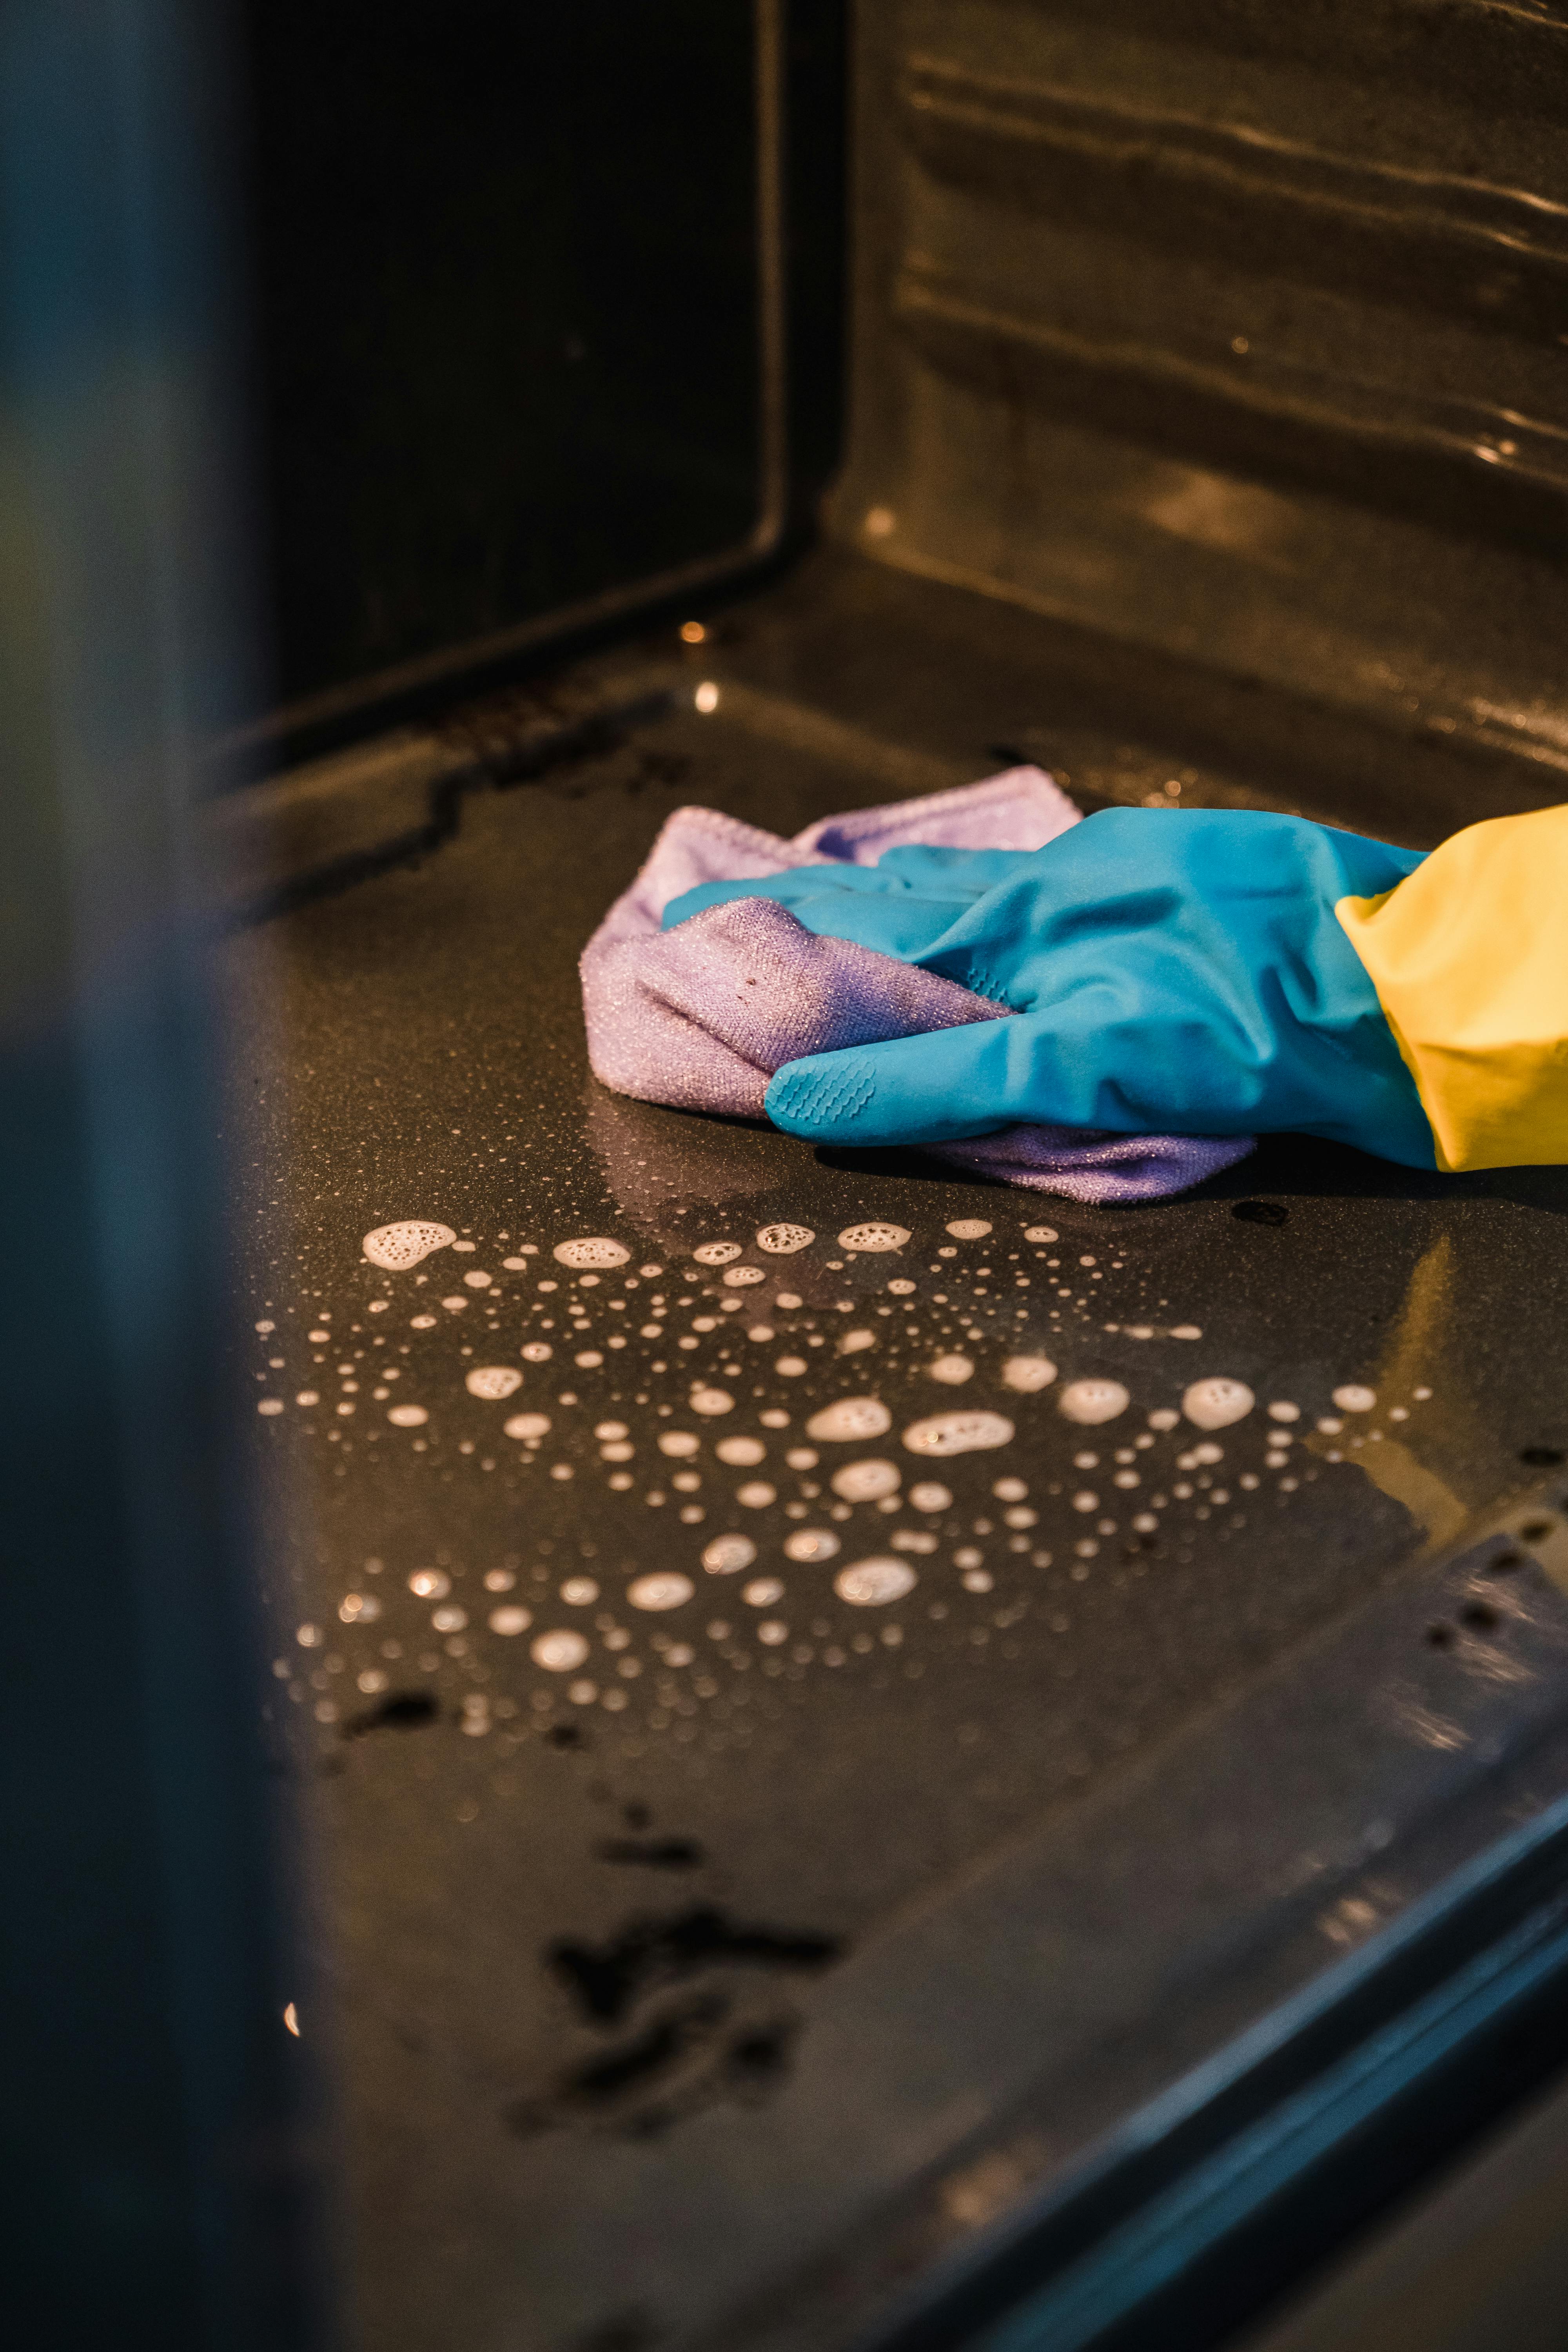
Table of Contents
Have you ever preheated dinner only to smell last month’s lasagna?
According to appliance experts, that smoky stench simply means old food splatters are burning. Your kitchen just needs a reset.
A homemade, non-toxic oven cleaner protects your family’s lungs while lifting stubborn grease just as effectively as harsh chemicals.
Patience replaces heavy scrubbing when cleaning an oven. Professional cleaners rely on the “overnight dwell time” rule, letting the mixture sit for 24 hours to dissolve crusts without the need for intense physical labor.
Gather Your Non-Toxic Arsenal: The Science of Baking Soda and Vinegar
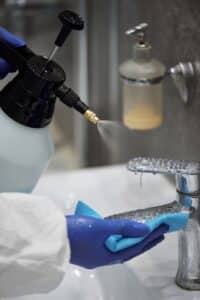
A powerful, natural oven cleaner is likely sitting right in your pantry. Instead of buying expensive commercial degreasers, you can easily build your cleaning kit with these five essentials:
- Baking soda
- White vinegar
- Dish soap
- Spray bottle
- Microfiber cloths
Baking soda cleans ovens effectively through chemical neutralization. As a gentle base, it reacts with vinegar, a mild acid, to create a bubbling reaction. This fizzing physically lifts burnt cheese and baked-on grease right off the surface, breaking down hard carbon deposits without relentless scrubbing.
Harness this lifting power by mixing half a cup of baking soda with a little water and dish soap until it reaches a thick, pancake-batter consistency. It must be thick enough to stick to walls without dripping onto hidden heating elements. This mixture can be used to clean the bottom of your oven, where most spills are collected.
The Frosting Technique: Applying Your Paste to Burnt-on Food
Smear your prepared mixture over the dirty areas like you are frosting a cake. Focus on the thickest spots where old drips have turned to hard carbon. A silicone spatula works perfectly for spreading the paste without getting your hands dirty.
Before covering every surface, locate the metal heating coils. Steer clear of these sensitive parts, as coating them can cause smoke or damage the electronics next time you bake. If you accidentally drop paste on a coil, wipe it off immediately with a damp cloth.
The secret to success isn’t elbow grease—it is patience. Let the baking soda paste sit overnight to do the heavy lifting for you. You will actually see the white mixture turn brown as it pulls out the grease and softens rock-hard deposits.

Removing Grease from the Glass Door and Racks
Getting a clear view of your food shouldn’t require harsh scraping. When cleaning glass door panels, rely on chemical cleaning—letting ingredients dissolve the grime—rather than mechanical scrubbing with rough sponges that cause permanent scratches. Spread your leftover paste over the glass to do the work safely.
Tackle the grates next to prevent future smoke and dangerous grease fires. Use this simple bathtub method to clean oven racks:
- Line your bathtub with an old towel to prevent scratching the porcelain.
- Lay your removed metal racks flat on the towel.
- Submerge them in hot water, adding a squirt of dish soap and a cup of baking soda.
- Leave them to soak overnight to loosen the hard carbon.
The next day, wipe the softened grime off the glass and rinse the racks. Buff the window dry using microfiber cloths for a streak-free finish.
The Great Debate: Why You Should Skip the Self-Clean Button
Pressing a button seems easier than scrubbing. Modern appliances use pyrolytic cleaning—a cycle blasting the interior with 900-degree heat to turn thick grease into ash. While automation is tempting, that extreme heat threatens your appliance’s hidden electronics.
A safety device called a thermal fuse often pops during this intense cycle, instantly killing power to your oven. Burning old food also produces heavy smoke that lowers indoor air quality. Switching to strong store-bought degreasers isn’t much better, as caustic chemicals require strict safety precautions to avoid inhaling burning fumes.
Protecting your kitchen means skipping extreme heat and toxic sprays. Trust the gentle baking soda paste applied earlier for a safer, highly effective clean.
Keeping It Fresh: The 5-Minute Maintenance Habit
With a clean interior, your oven will distribute heat properly and bake food evenly. Try these daily maintenance habits to prevent grease buildup after cooking:
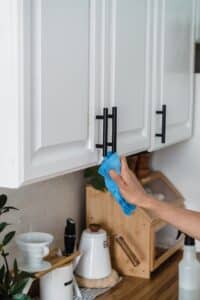
- The 5-Minute Routine: Wipe fresh splatters with a damp cloth while the oven is just slightly warm.
- The Steam Bowl Trick: Heat a bowl of water and lemon for 20 minutes to soften light grease—a highly effective natural way to deodorize the interior.
- Oven Liners: Catch heavy drips by placing a silicone baking mat on your bottom rack.
Put your hard work to the ultimate “No-Smoke Test” by preheating your empty appliance. If the kitchen air stays clear and odorless, the deep clean was a success. Practice the simple 5-minute routine after heavy cooking sessions to maintain that perfectly clear oven window.
Looking to offload the oven cleaning tasks to a professional cleaning crew? Seatown Cleaners specializes in appliance cleaning in Seattle. We are locally owned and operated since 2019. Book online and get a 5-star oven cleaning with a 100% satisfaction guarantee.